Open-Fire Cooking Techniques
 Open-fire cooking is the way that most food has been cooked through the history of the world, but today many of us could go through life without doing much more than roasting a marshmallow or a hot dog. As we are unlikely to do well in an emergency eating a diet of s’mores and hot dogs, it would be well to spend a little time becoming familiar with some basic techniques of open-fire cooking.
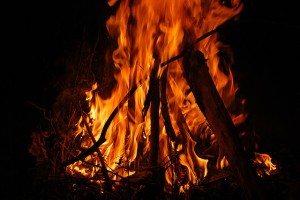
Never rest a pan on burning wood. As the wood burns it will destabilize your pan and flame heat is notoriously uneven and erratic. Foods with a good deal of liquid to even out cooking temperatures can be boiled over flames if you set up a grate or other support (a tripod or stacks of bricks on either side will work). Solid foods may be cooked on sticks in the flames, but realize that they will likely be seared—browned on the outside, while potentially still raw on the inside—so reserve this technique for foods that cook very quickly or do not need thorough cooking for safety.
For everything else, let the fire burn to a nice bed of coals. These will provide steady, even heat and you can even adjust the temperature somewhat by raking them together to concentrate heat or by spreading them out for slower cooking. Coals are perfect for tin foil dinners, bean-hole beans and dutch oven cooking and can also be used for spit or string roasting (click here for instructions on this old-fashioned technique).
You can estimate temperature without a thermometer. Place your hand in the area where you are planning to place your food for cooking and (without touching anything solid, of course) see how long you can hold your hand there. The formula as 50 degrees Fahrenheit per second, like this: 1 second=over 500F, 2 seconds=500F, 3 seconds=450F, 4 seconds=400F, 5 seconds=350F, 6 seconds=300F, etc.
Many of these techniques will adapt to indoor cooking in your fireplace. While most fireplaces are inefficient heat sources, being able to cook safely indoors during an emergency could be a lifesaver. For more information on fireplace cooking, click here.

 1 ½ cups whole wheat flour (or barley, spelt, kamut, oat)
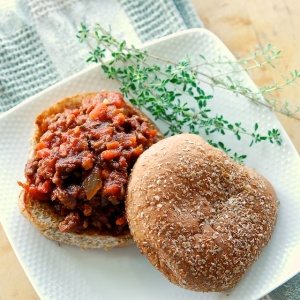 2 grated carrots/ ½ cup dehydrated shoestring carrots (optional)
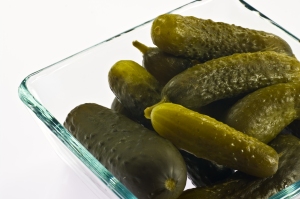 Salt has been used as a food preservative for thousands of years. In the absence of refrigeration, it is a low-cost and quite reliable method of preventing the growth of fungus and unfriendly bacteria while cultivating the same gut-friendly lactobacilli present in live-culture yogurt. Although this recipe is for cucumbers, you may substitute other fresh, unwaxed vegetables such as zucchini, peppers, green beans or baby eggplants.
 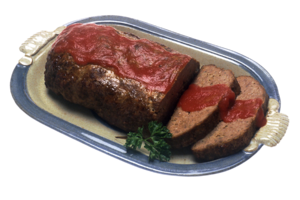 2 cups freeze-dried ground beef
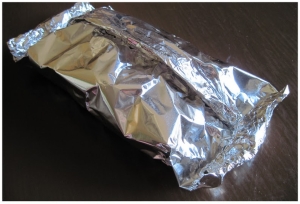 There are two things kids love to do when it comes to food. First, they love to choose what they get to eat. Second, they love to eat food that they cook outside. Tin foil dinners are a great way to do both. There are many recipes out there. I’ll share one here as an example. Feel free to experiment by adding sausages, vegetables, spices, etc, to your heart’s content.
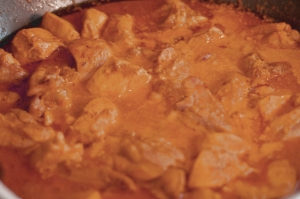 ½ cup diced celery (¼ cup freeze-dried + ¾ cup water)
 3 lbs chicken, canned or 2 cups freeze-dried
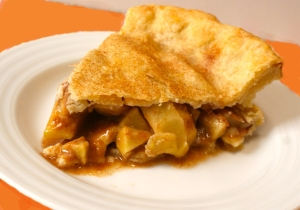 3 cups dried apple slices